While working on my lovely *black* Cormo Cross sample sweater, I reminisced about another deep deep expresso-colored cardi that was in my wardrobe. Although it was made from some of my favorite fiber (Jo Sharp DK), it was sadly, languishing on the shelf.
In fact, I couldn’t remember the last time I wore it!
What would make me shun such a lovely sweater? Well, one of the characteristics that made me love the yarn also made me avoid wearing that style.
The fabric that this yarn produces, at a DK gauge, is very dense. This results in a garment that is also dense, thick and WARM.
Now, I can hear somebody asking, “Really? When has a sweater being warm ever been a bad thing? Isn’t that the point?”
Well, sort of…
This particular style has 3/4 length sleeves.
So, while enjoying the sweater during cold, cold weather, the torso receives a nice COZY HUG while the lower arms are conspicously suffering a CHILLY POKE from the uncovered area, almost elbow to wrist.
Loving this yarn really got me going though, when I remembered, having recently moved, that I had packed a couple of small balls of it in my stash. Would I have enough? I weighed them and decided to go for it, it seemed OK! Why let this lovely sweater go to waste?
The Goal: lengthen the 3/4 sleeve measuring 14″ to my preferred long sleeve length of 19″…
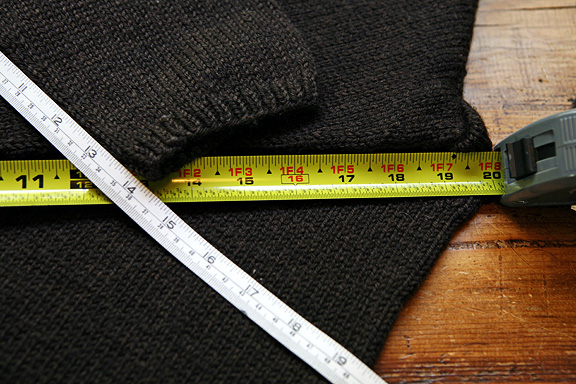
Here’s how I did it:
PICK UP STITCHES FOR NEW SLEEVE PORTION
These sleeves were knit in the round, but from the bottom up! So it wasn’t possible to frog the sleeve from the ribbing and add some length. If you’ve ever tried this (I did in my early knitting days – whoa!) you know that the stitches are completely intertwined in a way that requires you to pick them apart one-by-one instead of just *un-zipping* them if you want to free them up. So, I was going to have to first replace already worked stitches either on a needle or scrap yarn and then CUT THE FABRIC. Yes. Thrilling.
I like to knit in-the-round with two circular needles on larger tubes so my plan was to pick up half the new stitches on each needle and go from there.
Starting one row down from the ribbing and using the tip of one needle, I picked up stitches through the next row, entering the stitches on their right side, from the rear of the stitch. The first stitch picked up was the one I thought was the closest to what was the beginning of a round of the original sleeve.
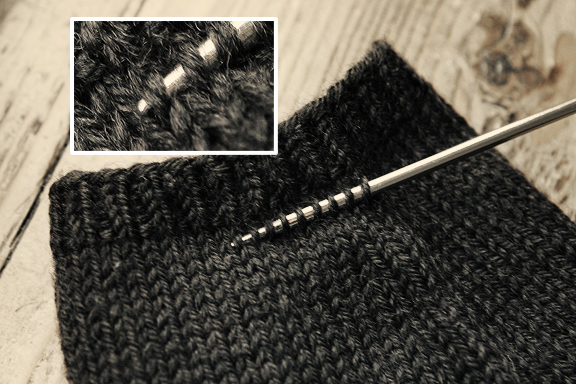
This puts the stitch in the exact correct alignment to knit it later without twisting or re-positioning.
CLIP FABRIC AND RELEASE STITCHES
After I placed the entire row of stitches on the two circular needles, I made a snip near the start of the round, on the first ribbing row.
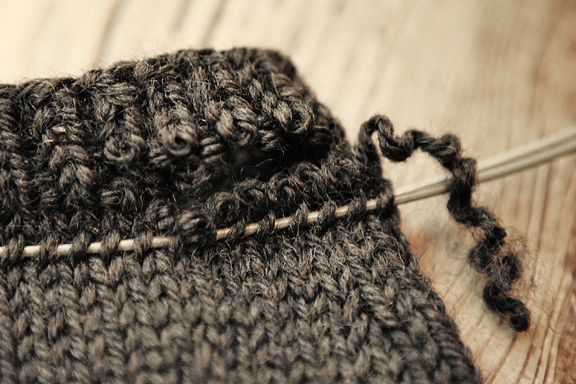
Carefully, going slowly, I pulled the tail of the yarn through the ribbed stitches, all the way around.
This leaves a row of “live” stitches above those being held on the needle. Why do it this way?
I’ve found it’s easier to find and fix glitches if you’ve accidentally gone one row up (or down) through the fabric while picking up the stitches.
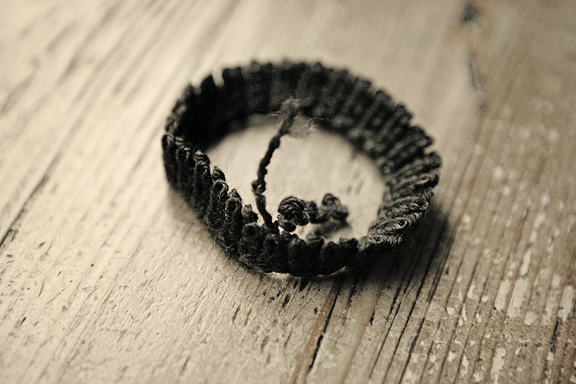
Once all the stitches are un-picked, it’s then easy to frog that row and have a nice tail of yarn to attach to your new working yarn
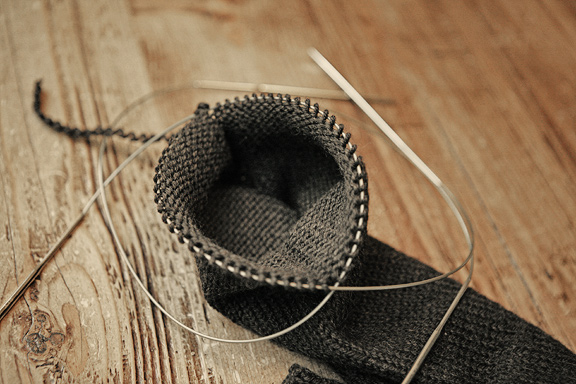
leaving the old ribbed cuff, standing by, if need be for extra yarn…
KNIT THE NEW SLEEVE SEGMENT
I started knitting the new sleeve segment with the smallest ball of yarn and luckily, had a few yards left when I was finished with my new sleeve! (To shape the sleeve, I roughly followed the shaping instructions for the original, substituting a decrease for every scheduled increase.)
If I had been close to running out of yarn, I would subtract the weight of the 1st ball used from the 2nd ball. Then I would divide the remaining weight of the 2nd ball in half and wind off a portion weighing that much, to finish on Sleeve #1. This leaves the right amount for Sleeve #2.
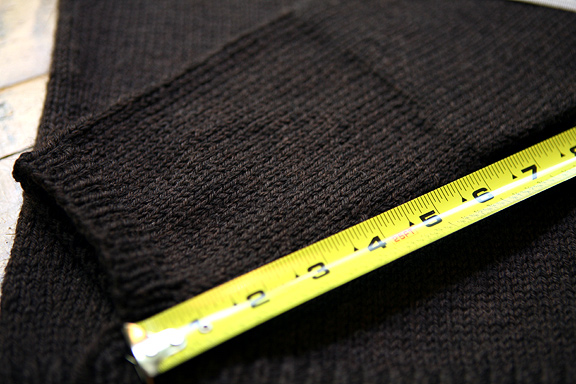
Now all that’s left is a nice wash and block and
VOILA! Now I have a comfy deep expresso cardi to wear and tide me over until that sample is finished! A girl can NEVER have enough yarn or sweaters, especially in such a yummy color!
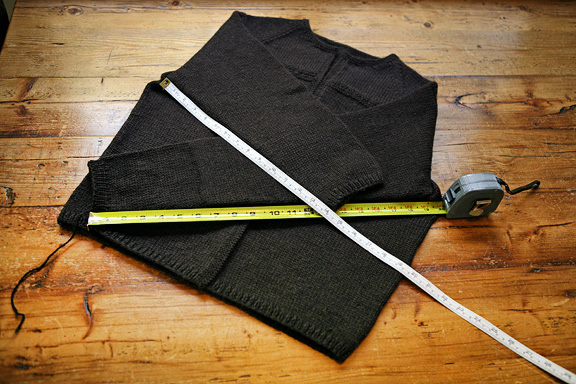
…find all Chic Knits Knitting Tips & Techniques here…

 On my personal knitting timeline, one of the most favorite things that every happened to me was learning to knit socks. If I had my druthers, I’d just knit socks all the live long day – there’s just nothing that is so soothing and that trips my calm mode more than going round and round and round…