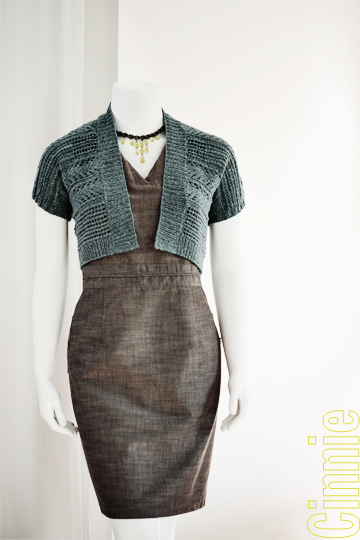
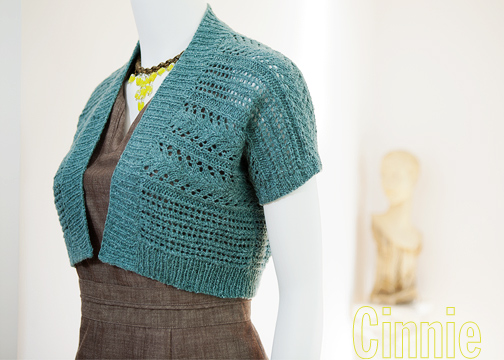
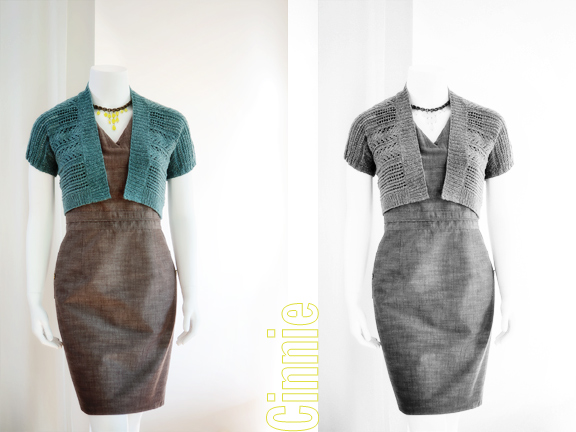
While spring rushes to a welcome balmy end, I’ve been rushing here at Studio Chic to finish up all my loose ends for the Columbus TNNA show. (We’ll be in Booth 628)!
Whew!
I really welcomed the HOT unseasonable weather we’ve been having lately because:
– chance to hunker in the AC and work & play
– chance to wear new clothes to shield myself from said AC, especially in public places
The new little Silky Wool CINNIE has been getting a workout. It’s so lightweight, I just throw it in my bag — an easy Take Along.
But the same reason I love it is the same reason it’s been annoying.
Lightweight. Hmm.
 If you’ve been knitting for any length of time, you know just because a yarn is a certain *weight*, it doesn’t mean all types thusly marked have an equivalent drape or wear.
Depending on the fiber content, different strands can yield fabrics that have little in common except for dimension.
This cardi is a great case in point.
The original cotton/microfiber sample I made has quite a bit of body to its fabric.
The turquoise Silky Wool in contrast is very light, more delicate.
And its ribbing wasn’t quite behaving the way I wanted. The very bottom hem edge wanted to point outward a little, flaring, if you will.
So, it was time for an old couture dressmaking trick. ;p
Although I wasn’t going to actually sew a chain to a jacket hem (ala Chanel) or insert pennies or even paper clips, I did decide to use some grosgrain ribbon to face the bottom edge, the idea being it would make that area slightly *heavier* so it would then naturally hang down more gracefully.
This would add enough weight and bulk to make my *jacket* behave.
Here’s how I did it:
How to Fix a Flaring Edge
1. Get some ribbon! I chose some 1 1/2″ wide grosgrain ribbon in a rich brown. This was the closet color they had to my yarn. Even though it doesn’t match, the tone is approximated the same and it will Recede into the background when worn.
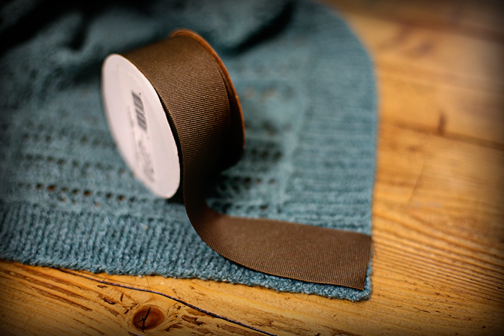
2. Measure off the ribbon. I wanted this to slightly overlap the edge ribbing into the hem ribbing with about 1/4″ on either end to fold inside to prevent raveling.
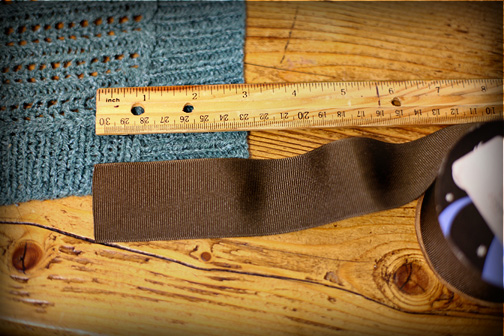
3. Prepare the facing. I had my steam iron up and running for some other sample blocking so I folded in the cut ends of my ribbon pieces and lightly steamed. THIS is very helpful to make the ribbon behave nicely and SPEEDS UP your stitching. I’m all about the quick draw over here – make it NICE but make it FAST! It also makes it easier to place and then PIN the piece to the edge you are reinforcing.
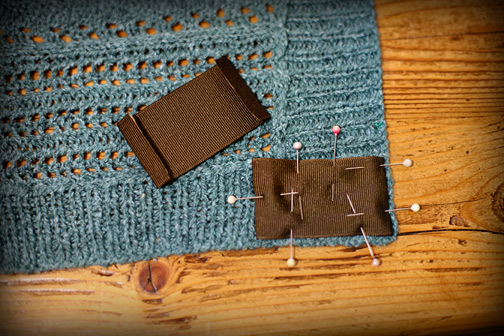
4. Stitch to the garment. Using a matching thread, I hem-stitched the facing to the ribbing.
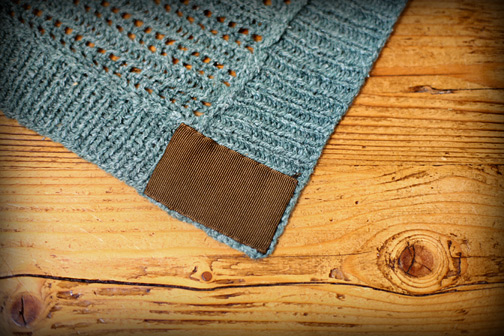
VOILA! With a little effort, I now have a LIGHT sweater that also wears well. :)


