
v.2 Basic Short Row Shaping For Knitting
Recently, I’ve been working on an intriguing construction that continues a theme that’s been evolving on my design timeline.
Over the last couple of years, my portfolio has grown with a selection of no-seaming modular-type styles and this new design does that and more with another interesting technique.
It is know as Short Row Shaping.
With a tip of the hat to Throwback Thursday, I offer you a revised version of something I wrote for knitty.com in its early days, circa 2003, when I was penning as La Bonne Tricoteuse (or “the good knitting woman”).
++++++++++++++++++++++++++++++++++++++++++++++++++++++++++
Knitting Tips: How to Use Short Row Shaping
Here’s a sampling of the mail I’ve been getting from you shapelies out there:
From Jennifer:
“I’m a busty gal and I’ve heard of doing short row shaping to eliminate the weird fit around my armpits. How do you modify an existing pattern to add short row darts?”
From Patricia:
“My question is: Can you explain how to add short row shaping to an existing pattern to help out those of us who could use a little ease in the chest area? I could do without that unflattering underarm wrinkle. If you could answer this question, you’d be doing a great service for the anti-Kate Mosses everywhere.”
What are short rows?
Ahh, a wonderful technique that no knitter should be without. Short rows make curves or soft angles on the mostly straight-edged, flat-paneled knitting landscape.
Short row shaping accomplishes this by partially knitting an existing row to a pre-determined stitch count, wrapping a stitch without knitting it, then turning the work and working back to the same (or another) count, and wrapping and turning again.
This adds rows within the body of the garment without increasing stitches, or casting-on more stitches.
Most importantly, you’re not changing the overall shape of the exterior of the garment but selectively adding length or a curved area (depending on the stitch counts and rows worked).
Short row shaping can also eliminate the step effect you get when you bind off shoulders. If a pattern has instructions for binding off stitches over several rows, short row shaping can be used instead over those incremental stitch counts to create a smooth angled edge instead.
Or they can make sock heels elegantly curved.
OR, and this is where we are going to live for a while, short rows can add some curve if you got the nerve.
A little cuppage created right into your garment might just be the difference between gaping armholes, an un-intended ride-up by your belly button, or having to make a size larger that fits your chest but sags on your hips and shoulders, because the garment is just too big.
This is an easy, sophisticated, non-obtrusive technique.
From Barbara:
“I think I have a major learning disability here with short rows. I’ve tried them in the past and I just can’t wrap my mind around them. I can’t stand it when I can’t learn from a book but I don’t know anyone who knows how to do this either and I can’t seem to break into the clique at the local yarn shop when all I have in my basket is a couple of balls of sock wool.”
Ah, my poor neglected online knitter – La Bonne Tricotuese is here to the rescue!
And joining us for this marvelous exercise in body-sculpting is prima designer Joan McGowan-Michael from White Lies Designs.
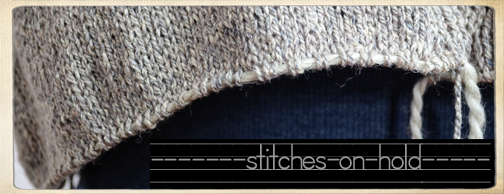
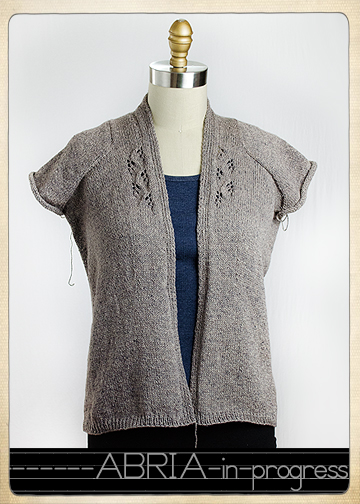
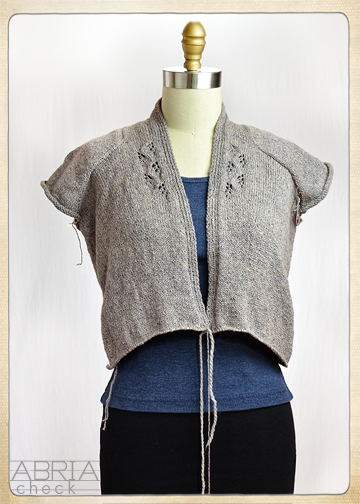
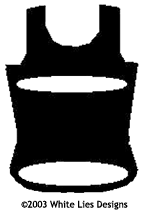 She has most graciously given us permission to deconstruct her wildly popular (and free) Shapely Tank Top Pattern that has short row shaping on its curved hem AND in the chest area to add a custom-fit according to your shape.
White areas show short row shaping at the bust and at the hem of the Shapely Tank.
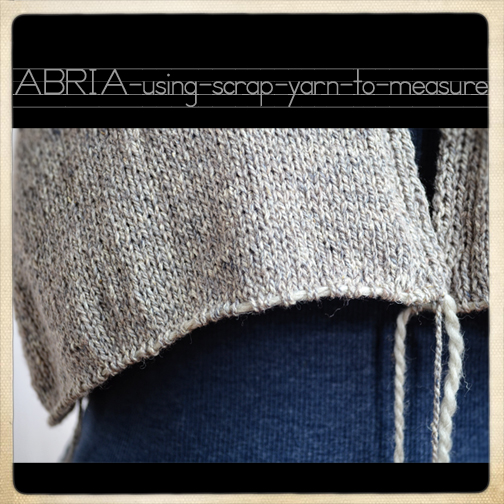
When used at the hem, they provide extra fabric that, when blocked, creates the shirt-tail like bottom.
When used at the bust as shown, they create something of a pocket for the fullness of the bust to fit into without disturbing the side seams.
So: get the pattern (look for "FREE from website, click for printable pattern") or use one that you’d like to try this short row shaping technique on and let’s get started…
++++++++++++++++++++++++++++++++++++++++++++++++++++++++++
Basic Short Row Shaping
 |
 |
|
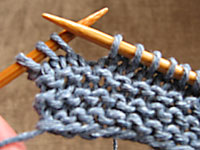
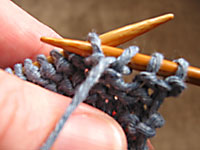
1. Ready to short row wrap –
we’ve knit up to the last 3 stitches.
|
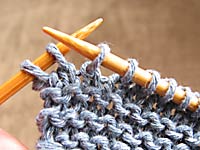
2. Insert right-hand needle into the front of the next stitch (purlwise) and slip onto the right-hand needle.
|
 |
 |
|
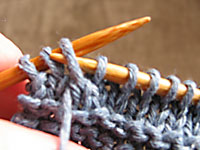
3. Bring yarn to front of work, then slip stitch back to left needle.
|
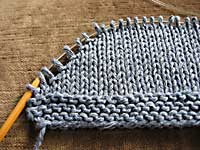
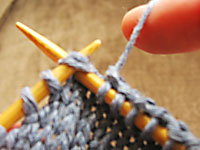
4. Turn work, bring yarn to front (or wherever it needs to be, depending on whether you are knitting or purling), completing the wrap.
Finish working the row, short-row wrapping the next indicated stitch.
|
 |
 |
|
5. Continue as pattern directs until
all short row shaping is finished.
Here we see all six stitches wrapped at the side of the garment. Notice how an angle is formed by only partially knitting a segment of the garment.
|
6. On the final 2 rows, when you knit or purl across, insert needle into wrap first, then knit/purl as appropriate together with the wrapped stitch.
|
 |
 |
|
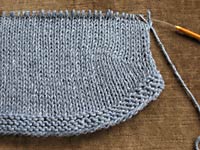
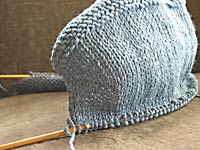
7. This is the bottom – curved hem – that is formed by the technique.
Blocking flattens the area thoroughly.
|
8. Here you can see how the short row shaping forms cuppage for the top of the garment.
|
++++++++++++++++++++++++++++++++++++++++++++++++++++++++++
That’s all there is to it!
After you finish the hem, keep following the pattern to where it refers to the bust shaping. This is the area on the black & white graphic above where short rows can be added to create added ease in the garment to fit your bust requirements.
The pattern says:
“Note: If you wear a C-cup bra or larger, here is the place to put more short rows as worked at the bottom edge. Repeat those instructions once for a C-cup, twice for D, etc. After all short rows have been completed, work one final row across all sts, picking up wraps.”
So: for a C-cup you would short row until 6 stitches on each side of front have been wrapped.
For a D-cup, you would short row until 12 stitches on each side of front have been wrapped.
For a B-cup with ease, you could short row until 3 stitches on each side of front have been wrapped, which would solve the armhole gaping problem many of us have.
++++++++++++++++++++++++++++++++++++++++++++++++++++++++++
The possibilities are endless if you think about it. :)
The wonderful thing about this concept is that you can do this on all your designs that have tightness in the front – short row a custom-fit in the area about 2-3 inches below any armhole shaping.
If you still are having trouble wrapping your brain around this, try this technique out with some scrap yarn first on a swatch using about 30 stitches. Once you get the hang of it, it is like truly a eureka moment. Very easy to do, very tricky to explain.
++++++++++++++++++++++++++++++++++++++++++++++++++++++++++
Find all of Chic Knits Knitting Tips HERE…
![]()

 She has most graciously given us permission to deconstruct her wildly popular (and free) Shapely Tank Top Pattern that has short row shaping on its curved hem AND in the chest area to add a custom-fit according to your shape.


