![]()
![]()
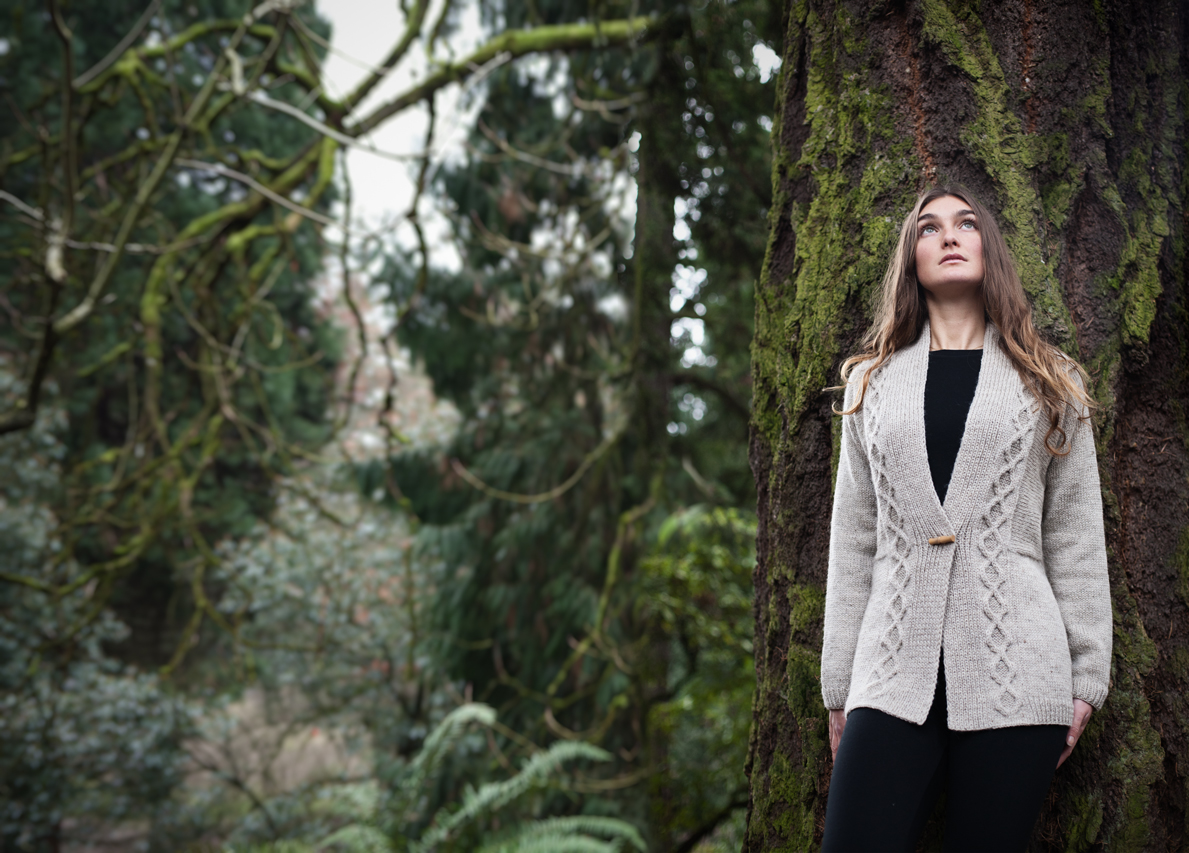
 Just as it’s getting much cooler after sundown here in Chicago, we have a ready-made “huggie” to warm us up while we’re doing some nighttime stitching. The DERICA cardigan we started a while back now has BOTH sleeves finished and is quite a ways into the yoke section.
Because this is a seamless, bottom-up sweater, you work the body in one piece up to the underarm area, then both sleeves, then join and work all to the neckline.
We love this technique for seamless Lace Knitting for garments. It allows an ease in shaping and working the stitch patterning. Establishing and working lace in increase areas on a top-down sweater is much more complex.
Although it works well for shawls (especially triangular) that are accompanied by detailed charts, when you grade a garment through a range of many sizes, unless it has the most simple of stitch patterns, it is quite a handful for most knitters.
It takes the dilemma of At The Same Time and compounds it exponentially because you have necklines, raglan lines, and edges all surrounding an ever-changing number of stitches which also have to be worked as lace.
But the same pattern stitch, knit from the bottom up, can be decreased very gracefully and with much less effort.
Because the stitch patterns are already established, those same potentially troublesome areas around the edges and raglan lines are clear. You can see the pattern repeat areas themselves and “cordon off” those nearest the shaping to work on. And, you are working decreases instead of increases, so there are no new stitchs to worry about.
So what’s the downside? Well, most would agree it’s a little finicky on the join up row (or round) when you put all the pieces together and start working the yoke. You have to get them strung together in the proper order with right sides matching. And, because of the small, tubular nature of where the sleeves meet the body, there exists a “tight zone” when working the first few rows. Even if you string your pieces on a fairly long circular needle, that area will be cramped.
But, have No Fear!
Our knitting ancestors figured this one out a long time ago (ganseys anyone!), and we’ve taken it one step further, using more modern tools.
Back Story: My Moms, who just turned 80, has always loved knitting lots of sweaters, hats and vests for the grands and kids in her church. But eventually, those kids got bigger! So the sweaters got bigger, too. For someone with arthritis in their hands, that’s a lot of stitches to be flipping back and forth, even if they can sit on your lap some of the time…
I was visiting her a few years back, and of course, had some sock knitting with me. I had just gotten the Socks Soar on Two Circular book and was loving it. I had never mastered the double point needle method and it was more relaxing and easier for me to use those flexible corded needles.
But why should this technique be restricted to Socks Only? Not only is this an in-the-round technique, the concept is to allow flexibility in a tight space.
Mom and I ended up taking a road trip (she lives in a small village) to another town with a yarn shop and got some more circular needles in the size she was knitting her sweater. She was making a pullover and we distributed the stitches just like you would a sock, splitting the stitch count in two.
But here’s where it get’s interesting. I found that if you started the row in the middle of the sleeve, you could control that condensed area under the arm rather handily when you came to the yoke section. :)
In no time at all, Mom was knitting in the round with less stiches in play, so less stress on her hands because the garment bulk was nicley distributed on the needles AND in her lap.
I liked this idea so much that the next time I was knitting a sweater from the bottom up, I tried the technique myself.
But I was knitting a cardigan, which is split differently than a pullover. Since I have a lot of needles from sample knitting, it was easy to increase the two needles up to three — one for each section — which would make the knitting even easier.
It looks like this:

Here you see, from l. to r., Needle 1 containing sts from the Left Front and front-half of Left Sleeve; Needle 2, stitches from back-half of Left Sleeve, then the Back stitches, then back-half Right Sleeve back sts; Needle 3, sts from front-half of Right Sleeve and all Right Front sts.
 I have also found it is much more comfortable for me to work with the Wrong-side facing out, so I turned the sleeves inside out before joining all the pieces for the yoke.
To the left, you see the Left Front and the Left Sleeve, ready to go, with that pesky underarm area (resting below the sleeve on the table) out of the way, just like it will be out of the way when I am knitting the Derica yoke.
Now, I can knit ALL of the stitches easily and without all the bumpus and angst.
What we’ve done here is just like what those gansey knitters of old did.
Instead of using long steel knitting pins to knit large pieces of fabric in the round (with a knitting sheath for stability and speed), we’ve just used shorter circulars that we had on hand for sleeve knitting and split the stitches, just like you would for the vintage type.
And because we’re delirious about this, we are even using a 4th needle to knit the stitches from each individual needle. Just Like Knitting With Double Pointed Needles (except we’re using circs). ;p
SPEEDY! Look out…
![]()